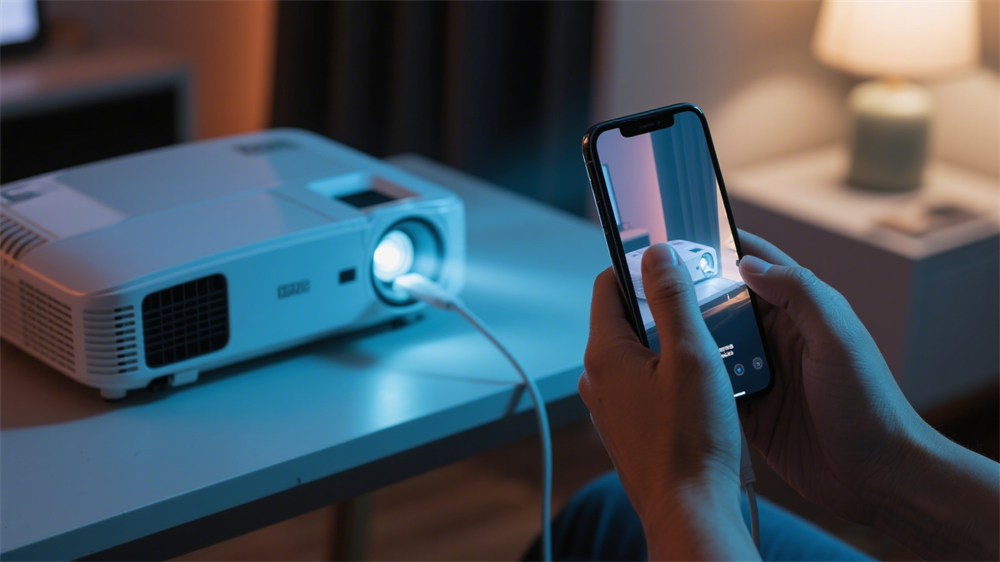
In today's fast-paced world, projecting your phone's screen onto a larger display without needing an internet connection is a game-changer for offline entertainment, business presentations, or educational sessions. When you're in a remote location, dealing with spotty Wi-Fi, or just want a hassle-free setup, this guide covers proven methods to connect your phone to a projector without internet. We'll dive into step-by-step instructions, compatibility details, pros and cons, troubleshooting tips, and more to help you achieve seamless screen mirroring.
This includes wired solutions like USB-C to HDMI cables, which are compatible with most Android devices and newer iPhones, and innovative wireless options like the VCOM wireless HDMI extender, which uses its own 5G transmission without external networks.

Why Connect Your Phone to a Projector Without Internet?
There are several compelling reasons to opt for an internet-free connection:
Privacy and Security: No network means reduced risk of hacking or data interception, especially in public spaces.
Reliability in Remote Areas: Ideal for camping, classrooms, or areas with poor connectivity.
Simplicity: Avoids Wi-Fi setup hassles, passwords, or app downloads.
Versatility: Works for streaming local files, gaming, or presentations without bandwidth issues.
Common challenges include device compatibility— not all phones support video output—and power needs for wireless devices. But with the right tools, these are minimal.
Method 1: Using a USB-C to HDMI Cable (Wired Option)
This is one of the most straightforward and reliable ways to connect without internet, as it relies solely on a physical cable for direct video and audio transmission. It's perfect for Android phones with USB-C ports that support DisplayPort Alt Mode, and it also works for iPhone 15 and above series (which use USB-C). For older iPhones, a Lightning to HDMI adapter is an equivalent alternative.
Compatibility:
Android: Most models with USB-C support video out.
iPhone: iPhone 15 and later (USB-C); older models require a Lightning to USB-C adapter.
Projectors: Any with an HDMI input.
Pros:
Lag-free and high-quality (up to 4K resolution).
No batteries or additional power needed beyond the devices.
Affordable (cables cost $10–20).
Cons:
Limited mobility due to cable length.
Not all phones support video output—check your model's specs.
Step-by-Step Setup:
1. Verify your phone's compatibility: Go to your phone's settings > About Phone > Check for "USB Alternate Modes" or test with a known HDMI display.
2. Obtain a USB-C to HDMI cable (or Lightning to HDMI for older iPhones).
3. Connect one end to your phone's USB-C (or Lightning) port.
4. Plug the HDMI end into the projector's HDMI input port.
5. Power on the projector and switch to the HDMI input source using the remote or menu.
6. On your phone, enable screen mirroring if prompted (usually automatic); adjust display settings for optimal resolution.
7. Your phone's screen should now mirror on the projector—play videos, browse photos, or run apps as needed.
If audio doesn't transmit, ensure the cable supports it (most do). For extended use, keep your phone charged via a USB splitter if available.
Method 2: Using VCOM DD543 Wireless HDMI Screencast Extender (Wireless Option)
For a truly wireless experience without internet or Wi-Fi networks, the VCOM DD543 is an excellent choice. This receiver-transmitter combo uses built-in 5G WiFi (802.11ac) for direct transmission, supporting up to 4K@30Hz resolution and a 30-meter range in open spaces. It's plug-and-play, with no apps or drivers required, making it secure and hacker-proof.
Compatibility:
Phones: Android with USB-C video output; Windows and macOS laptops for broader use (not iPhone-native, but adapters possible).
Projectors: Any with HDMI input.
Systems: Android, Windows, macOS.
Pros:
No internet or external Wi-Fi needed—uses proprietary 5G transmission.
Low latency for gaming or video (H.265/VP9 encoding).
Supports PD 100W fast charging on transmitter; range up to 100ft obstacle-free.
Plug-and-play with LED indicators for easy monitoring.
Cons:
Requires power for receiver (5V/2A USB-C).
Higher cost ($50–100) compared to cables.
Range drops to 15m with walls or interference.
Step-by-Step Setup:
1. Connect the receiver's HDMI port to the video input port of your projector.
2. Power the receiver using the USB-C port (use a ≥5V/2A power adapter or USB-C power source).
3. Switch your projector's input source to the corresponding HDMI port until the boot screen appears.
4. Insert the transmitter into a USB-C video output port of your phone.
5. The indicator will flash rapidly—wait about 10 seconds for the projection to start.
6. For advanced use, toggle replication/extension modes via the transmitter switch; supports audio formats like AAC and PCM.
Endnote:
Connecting your phone to a projector without internet opens up endless possibilities for big-screen experiences, from offline movies to professional presentations. Choose based on your device's compatibility and needs—start with a quick compatibility check to avoid frustration. With these steps, you'll be projecting in minutes. For more electronics tips, explore related guides on VCOM's website.
Related Content:
How to Connect USB-C to HDMI: A Comprehensive Guide
How to Connect Your Phone to a TV Without WiFi
Tag:HDMI,Screencast


